Description
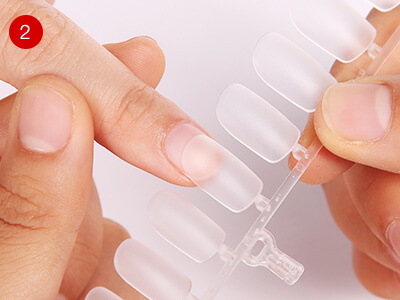
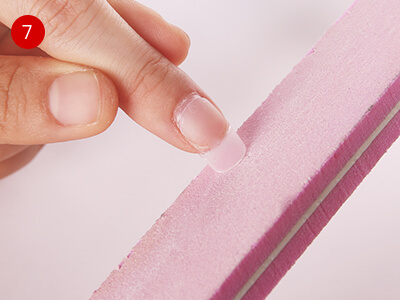
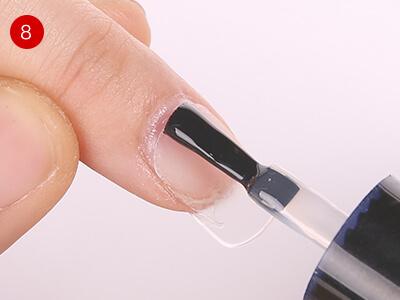
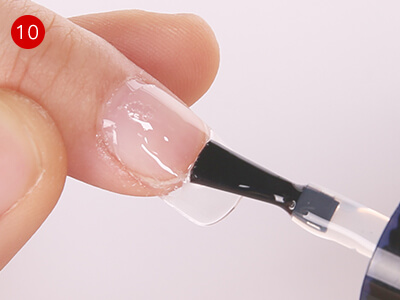
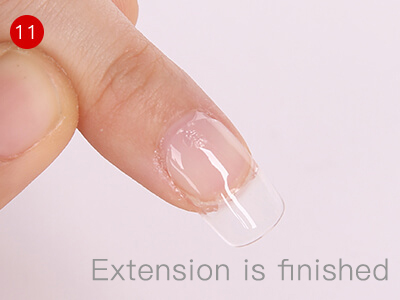
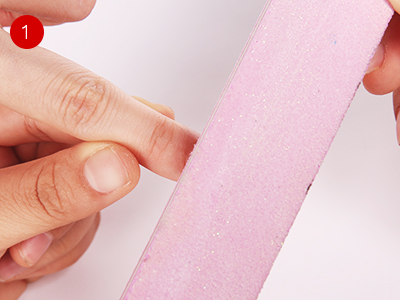
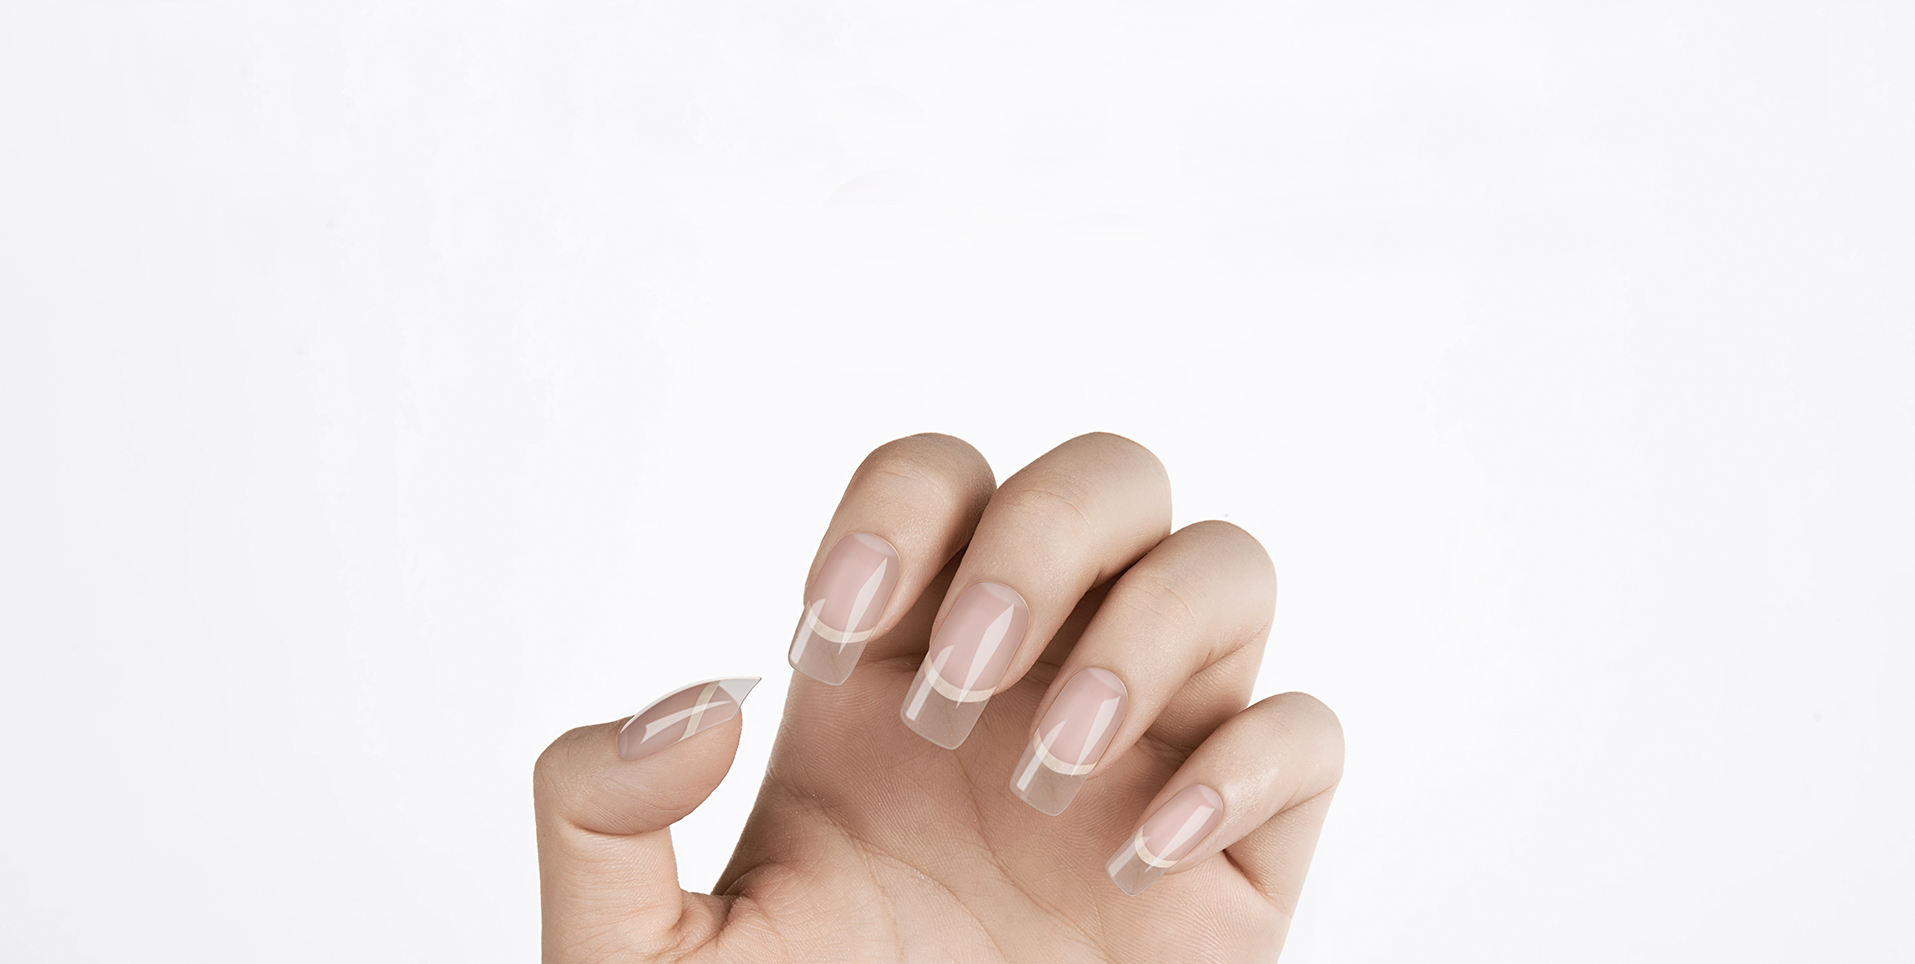
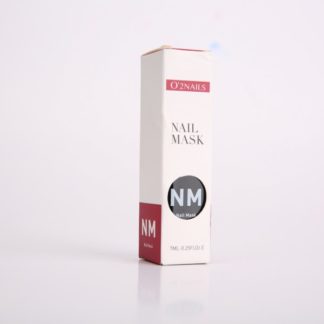
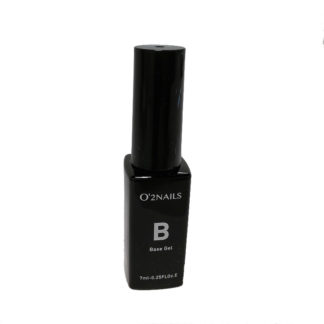
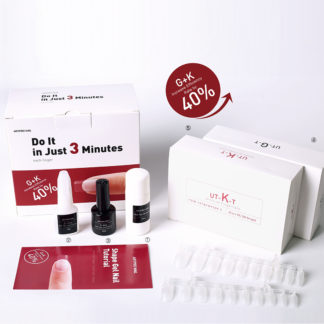
A Revolutionary extension product that changed the traditional experience of Nail extension. Decorate nails without hurting the nails!
what's in the box:
- Extension Glue
- Extension Gel
- Nail Tip Remover
- 10 Strips of K shape Artificial Nail Tips (10 different sizes nail tips per strip)
- 10 Strips of G shape Artificial Nail Tips (10 different sizes nail tips per strip)
how to use:
3 Min Extention Guide:
Step 1
Slightly polish the nail surface for delustering
Step 2
Compare at 1/3 trailing edge. Choosing nail tip prefers little bit smaller than over sizes
Step 3
A proper amount of glue should be spread to fully cover the surface of real nail
Step 4
The nail tip only covers 2/3 of the real nail. Squeeze it forward and paste it
Step 5
Squeeze both sides of the nail tip, and prevent the both sides from turning up
Step 6
Use dry cotton sheets to remove the spilled glue
Step 7
Manicure at the grinded round fracture
Step 8
No need to grind the nail tip, smooth interface spread with primer
Step 9
Brush Gel builder
Step 10
Strengthen the front edge and use UV light to firm the protection layer
Ta Da!
how to Remove:
5 Min Remove Guide:
Step 1
Grind nail surface
Step 2
Soak the nail with Gel-Remover to remove the Top Coat / Color Gel / Other Gel Builder
Step 3
Gently remove the upper gel layer
Step 4
Use the nail tip remover to rub the nail surface back and forth to remove the nail tip and residues
Reviews
There are no reviews yet.